How to write an invoice: a step-by-step guide for freelancers and small businesses
Everything a professional invoice needs, in the order your client reads it — with a checklist, a worked example and the mistakes that delay payment.
 Billairo team
8 min read
On this page
- What is an invoice?
- What to include on an invoice
- How to write an invoice, step by step
- 1. Agree the price and terms before you start
- 2. Start from a template or invoicing tool
- 3. Add your details and your client's
- 4. Number and date it
- 5. Describe the work clearly
- 6. Add discounts, tax and the total
- 7. Set the due date and payment terms
- 8. Make paying easy
- 9. Send it promptly — and follow up
- Invoice example
- Invoice checklist
- Design tips that make invoices look professional
- Common invoicing mistakes that delay payment
- How to send an invoice
- Frequently asked questions
- Can I write an invoice if I'm not a registered business?
- Do I have to charge VAT or sales tax on my invoices?
- What's the difference between an invoice and a bill?
- Can I change an invoice after I've sent it?
- How long should I keep copies of invoices?
An invoice is a request for payment, but it's also a record your client's accounts team, your accountant and possibly a tax inspector will read. A clear one gets paid faster; a vague one sits in someone's inbox while they email you questions.
This guide walks through every part of a professional invoice in the order your client reads it, with a worked example, a checklist you can copy, and the mistakes that most often hold up payment.
What is an invoice?
An invoice is a document you send a client after you've delivered goods or services, listing what they bought, how much they owe and how to pay. Once the client accepts it, it becomes the record of that sale for both of you: you use it to track what you're owed and to report income, and your client uses it to justify the expense and, if they're VAT-registered, to reclaim tax.
That's what makes it different from a pro forma invoice (a preview before the sale) and a receipt (proof that payment has already happened).
What to include on an invoice
Whatever you sell and wherever you are, a complete invoice has these parts:
- The word "Invoice" at the top, so nobody mistakes it for a quote or a statement.
- Your business details: name, address, email and phone. Add your logo if you have one; it helps the invoice get recognised in a busy inbox.
- Your client's details: the company or person you're billing, their address, and a named contact if you have one. For larger companies, ask who should receive invoices — it's often an accounts payable address, not the person you worked with.
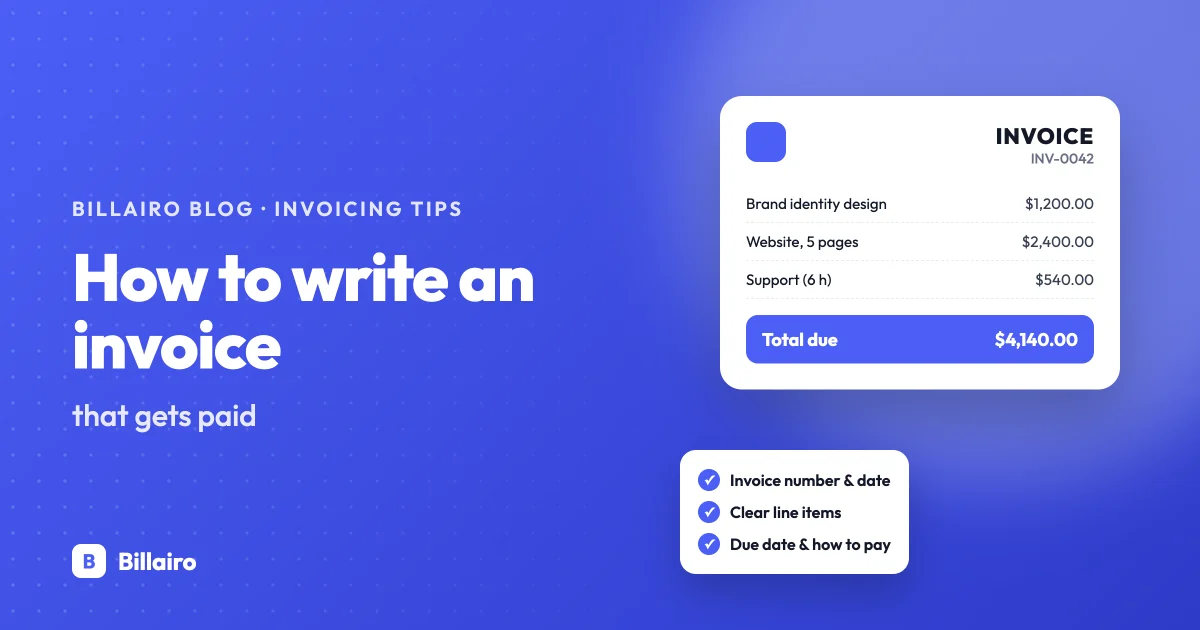
- A unique invoice number, following on from the last one (INV-0041, INV-0042…). See our guide to numbering invoices.
- The invoice date (the day you issue it) and, if it's different, the date of supply — when you delivered the work. Many VAT countries require the second one.
- The due date, written as a date (“Due 28 November 2026”), not only as a term.
- Line items: a description of each product or service, the quantity, the unit price and the line total.
- Subtotal, discounts, tax and total, each on its own line, so the client can check the maths.
- Payment details: bank details, a payment link, or both.
- Payment terms and any notes, such as late payment terms or a purchase order number.
If you're registered for VAT or GST, there are extra legal details — your VAT number, the tax rate on each line and the tax amount in the currency of the country. Our guide to VAT invoice requirements in the EU and UK covers them.
How to write an invoice, step by step
1. Agree the price and terms before you start
The easiest invoice to get paid is one that contains no surprises. Before the work begins, agree the price (or rate), what's included, and when you'll be paid. A short written quote or email the client replies "yes" to is enough. When the invoice arrives, it should simply confirm what you both already agreed.
2. Start from a template or invoicing tool
Writing invoices in a word processor works for the first few, but it's where numbering gaps, maths errors and copy-paste mistakes creep in. A template or invoicing tool fills in your details automatically, numbers each invoice in sequence and does the arithmetic. You can make one in a couple of minutes with our free invoice generator — no sign-up needed — or pick a design from our invoice templates.
3. Add your details and your client's
Put your business name and contact details at the top and the client's in a clearly labelled "Bill to" block. If the goods are going somewhere else — or the work was done at a different site — add a "Ship to" or "Service location" address underneath, so there's no doubt what the invoice is for.
4. Number and date it
Give the invoice the next number in your sequence and today's date. Add the date of supply if the work was finished on a different day, or a service period (“1–31 October 2026”) for ongoing work.
5. Describe the work clearly
Each line should make sense to someone who wasn't in the room. "Design work" invites questions; "Homepage design, 3 concepts and 2 rounds of revisions" doesn't. If you bill by time, show the hours and the rate. If you sell products, include the quantity and unit price.
Tip: reuse the wording from your quote or contract. When the client's finance team checks the invoice against the purchase order, matching descriptions get approved without a back-and-forth.
6. Add discounts, tax and the total
Show the subtotal, then any discount, then tax, then the total. If you're not registered for VAT or sales tax, don't add it — and in some countries you must say why (for example the small business exemption). If you've already received a deposit or part payment, show it and the remaining balance due so the client pays the right amount.
7. Set the due date and payment terms
Write the actual date the invoice is due, plus your terms. Shorter terms get paid faster: Net 14 is common for freelancers, Net 30 for larger clients. Our guide to invoice payment terms compares the options.
8. Make paying easy
List your bank details clearly. If the client might prefer card or PayPal, add a payment link. Every extra step between "approved" and "paid" adds days. In Billairo you can add pay links and a QR code to every invoice, so the client can pay from their phone.
9. Send it promptly — and follow up
Send the invoice as soon as the work is delivered, while it's fresh. Email it as a PDF with a short message, and send a friendly reminder a few days before it's due. Automatic payment reminders do this for you without the awkwardness.
Invoice example
Here's what the core of a simple invoice from a freelance designer looks like:
| Description | Qty | Unit price | Amount |
|---|---|---|---|
| Logo design — 3 concepts, 2 revision rounds | 1 | $1,200.00 | $1,200.00 |
| Brand guidelines (12-page PDF) | 1 | $600.00 | $600.00 |
| Social media templates | 6 | $50.00 | $300.00 |
| Subtotal | $2,100.00 | ||
| Deposit received | −$630.00 | ||
| Balance due by 28 November 2026 | $1,470.00 | ||
Above the table sit the designer's and client's details, invoice number INV-0042, the invoice date and the due date. Below it: bank details, a payment link and the line "Payment due within 14 days of the invoice date".
Invoice checklist
Before you hit send, check that the invoice has:
- The word "Invoice" and a unique, sequential number
- Your business name, address and contact details
- The client's name and billing address (and who to send it to)
- The invoice date, and the date of supply if different
- A clear description, quantity and price for each line
- Subtotal, discounts, tax (if you charge it) and total
- Any deposit or payment already received, and the balance due
- The due date written as a date
- How to pay: bank details and/or a payment link
- Your VAT/GST number and tax details, if you're registered
- The client's purchase order (PO) number, if they gave you one
Design tips that make invoices look professional
- Put your logo and business name at the top. The client should know who the invoice is from in a second.
- Make the total and due date stand out. They're what the client's finance team looks for first, so give them a clear, bold spot.
- Use one font family and plenty of white space. Two sizes for headings and text are enough; cramped invoices look rushed.
- Stick to one accent colour, ideally your brand colour, for headings and the total. Avoid coloured backgrounds that waste ink when printed.
- Align numbers to the right in the line items table, so amounts are easy to scan and add up.
- Keep it to one page where you can. If there are many lines, keep the totals and payment details together at the end.
- Be consistent. Every invoice should look the same, so clients recognise yours immediately.
A ready-made design gets all of this right for you: browse our invoice templates.
Common invoicing mistakes that delay payment
- Sending it to the wrong person. Your contact may not be the one who pays. Ask where invoices should go before you send the first one.
- Missing the PO number. Many companies can't pay an invoice without the purchase order number on it.
- Vague descriptions. "Services rendered" gets queried. Be specific.
- No due date. "Due on receipt" sounds firm, but in practice an invoice without a date gets paid whenever it's convenient.
- Editing an invoice after you've sent it. Once issued, an invoice shouldn't change. If something was wrong, issue a credit note and a corrected invoice, so your records (and your client's) stay consistent.
- Waiting to invoice. Every day you delay sending the invoice is a day added to when you get paid.
How to send an invoice
Email is the norm. Attach the invoice as a PDF, put the invoice number and amount in the subject line ("Invoice INV-0042 — $1,470.00, due 28 November"), and keep the message short: what it's for, when it's due and how to pay. A link to an online version of the invoice is handy too — the client can open it on any device and you can see when they've viewed it.
If you invoice regularly, an invoicing tool saves real time: it keeps your client list, numbers invoices, sends reminders and shows who owes you what. Billairo's free plan covers the basics, with no credit card required.
Frequently asked questions
Can I write an invoice if I'm not a registered business?
Yes. In most countries, sole traders and freelancers can invoice in their own name. Use your full name as the business name and include your address. If you later register a company or for VAT, your invoices will need the extra details that come with that.
Do I have to charge VAT or sales tax on my invoices?
Only if you're registered for it. If you're below your country's registration threshold, don't add tax — and check whether you need to add a note saying why, as some EU countries require.
What's the difference between an invoice and a bill?
They're the same document seen from different sides: you send an invoice; your client receives a bill.
Can I change an invoice after I've sent it?
It's best not to. Issue a credit note to cancel all or part of the original, then send a new invoice with the right details. That keeps your invoice numbers and accounts in order.
How long should I keep copies of invoices?
It depends on the country, but usually between 5 and 10 years. In the UK it's at least 6 years for most businesses; in Germany it's 8 years. Keep them digitally and you'll always be able to find them.